Week 12
Testing
Getting organized with Postman
We have used Postman to do manual testing of our projects throughout the course, but we have barely scratched the surface of what Postman can do. It is time to leverage more features to help keep our testing well organized and eliminate some of the manual "cut and paste" of results from one test to another.
Workspaces
When you first start using Postman it sets up a default workspace called My Workspace. This lets you get started right away. But like any other digital tool, this can get cluttered pretty quickly. You can think of the workspaces feature as a filing cabinet. It is a way to contain collections of related work.
In a development shop or as a freelancer, you might want to create one for each client you are doing work for. I created a workspace for this class. You will notice at the top of all of my Postman screenshots it says MAD9124.
Create a workspace
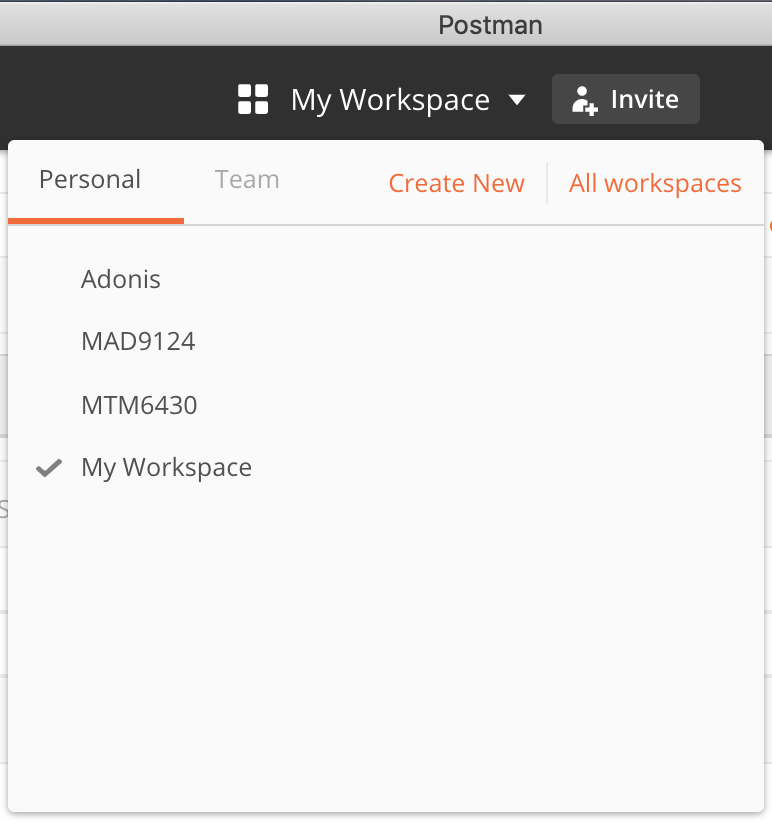
You can create a new workspace by clicking the title of the current workspace and then choosing the Create New option.
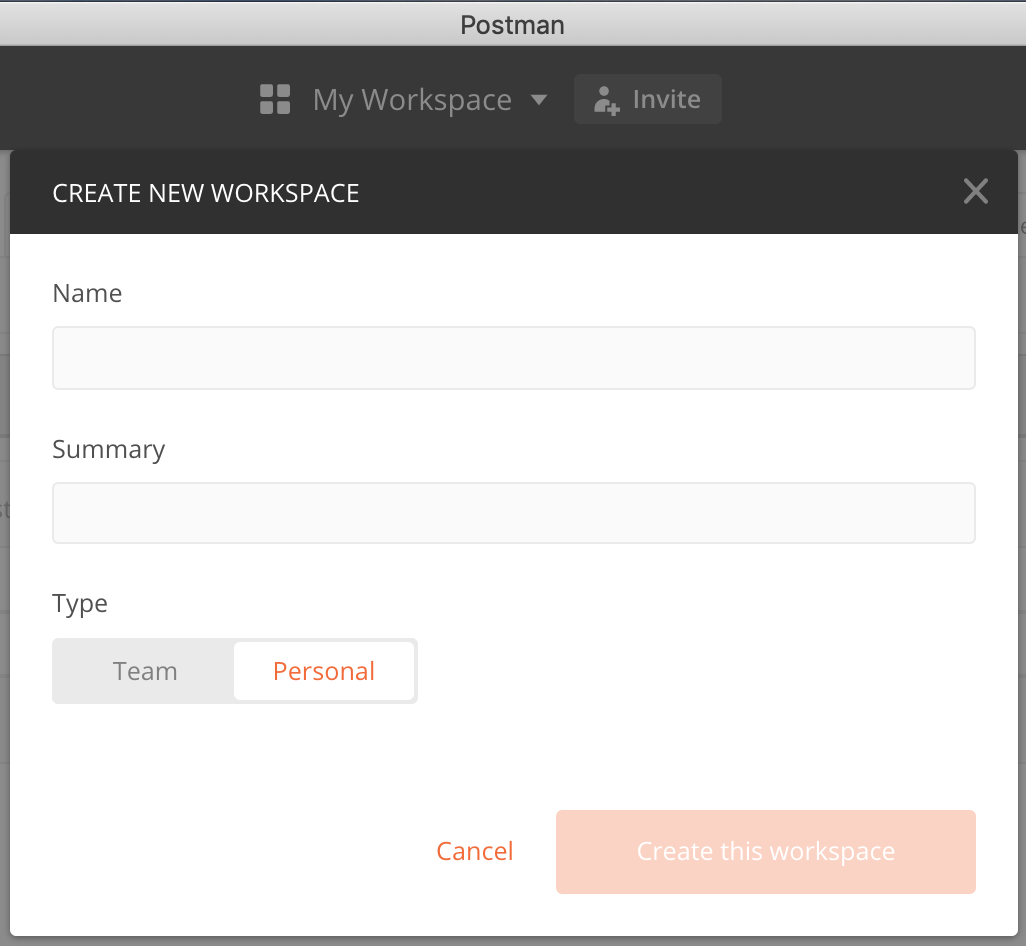
Give the workspace a name ( e.g. MAD9124 ) and optional description to help you remember what it is for later, and then click the Create this workspace button. This will create and switch to the new empty workspace.
Collections
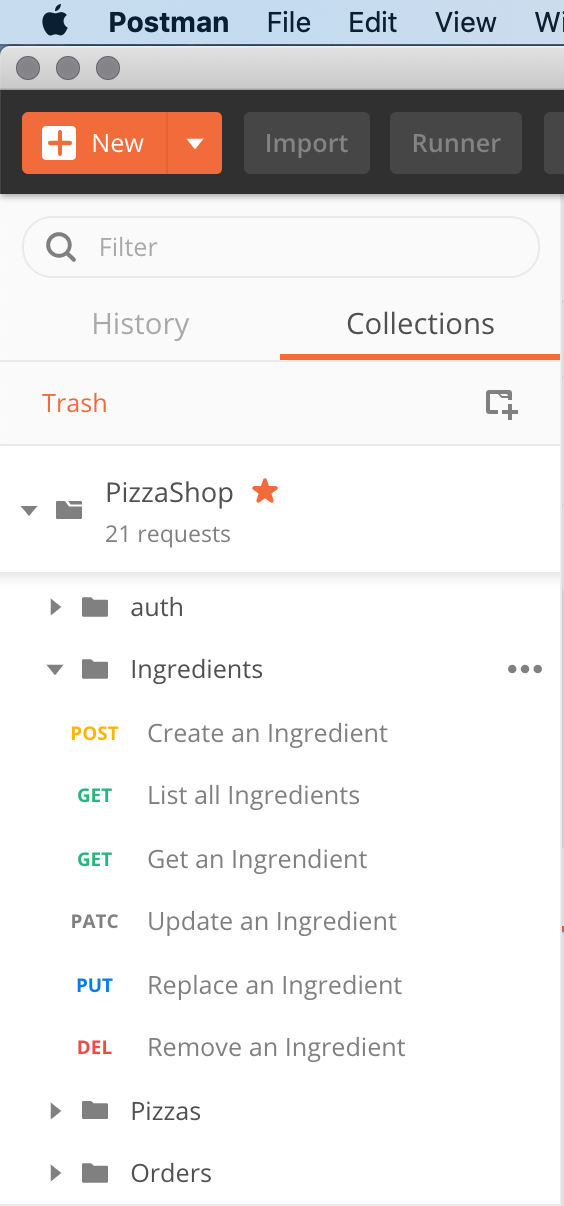
Within a workspace Postman has a Collections feature to help sub-divide your work. To continue the earlier analogy, collections are like drawers in the filing cabinet. I created a collection for each of the projects that we worked on during class. The left-hand column of the Postman workspace lists all of the collections.
Create a collection
Click the plus icon just below the word collections to create a new one.

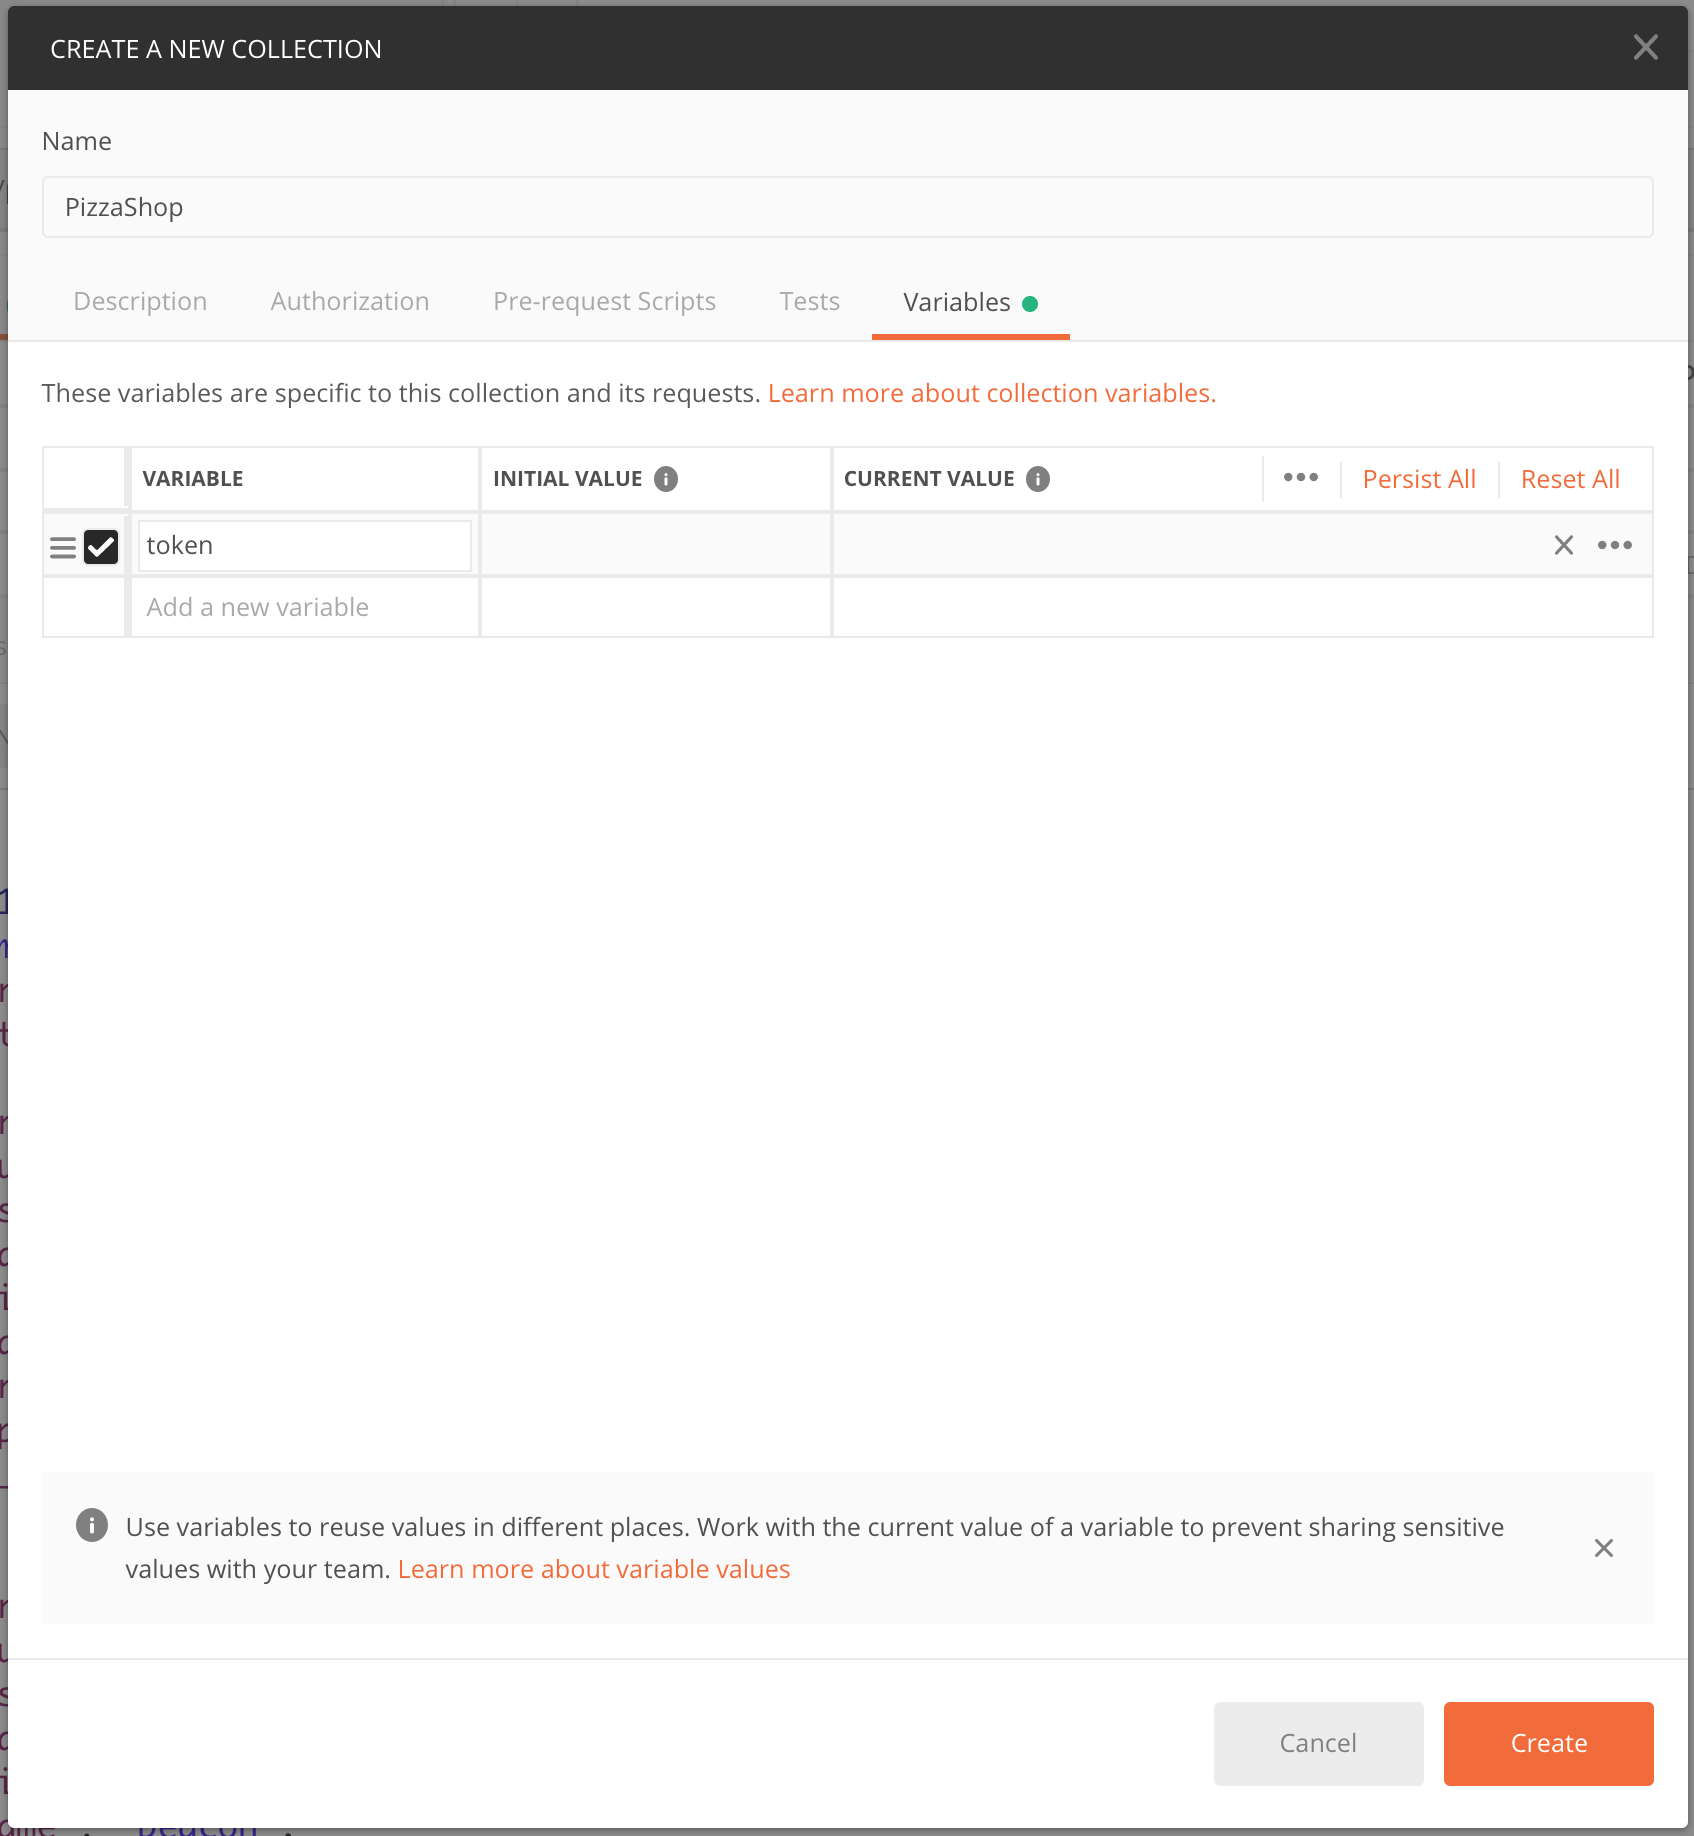
Give the collection a meaningful name. I usually name mine to match the GitHub project name. You can also setup some collection-wide configuration like variables, or automated test scripts that should run either before or after every request.
Saving requests
As you are testing your web service API, it is a good idea to create a separate request tab for each route action. Then you can save those request tabs to your collection using the grey save button at the right of the send button. When saving, the default name is the URL (e.g. localhost:3030/api/pizzas). To make it easier to find what you are looking for, give it a more friendly name (e.g. Create a Pizza).
Postman also lets you create folders inside you collections to help keep things tidy. A good practice is to create a folder for each API resource (e.g. pizzas, or orders).
Then the next time you need to test a particular route action, simply double click the saved request and all of the default body data and header information will already be set. Change whatever parameters are required for your test (e.g. a missing required property to check validation errors) and click the send button.
Variables
One of the most error prone and time consuming things about testing a series of API requests is that we often need to copy data from the results of one request to the body or the header of another request. A good example is after running the login request, we need to copy the returned JWT into the Authorization header of every other API request.
Postman solves this problem with variables. We can create environment variables in each collection that can then be inserted into the request using the double braces syntax – sometimes called moustache syntax.
Create a new environment
Much like we can manage different environment variables for our node application, Postman lets us define one or more environments for our collections. Each environment can have different variable/value sets.
In the top right corner, just above the send button, there is an environment drop-down menu. It will initially say No Environment. Clicking the gear icon to the right will bring up the Manage Environments panel where you can create a new one. I called mine PizzaShop-dev.
Create a variable
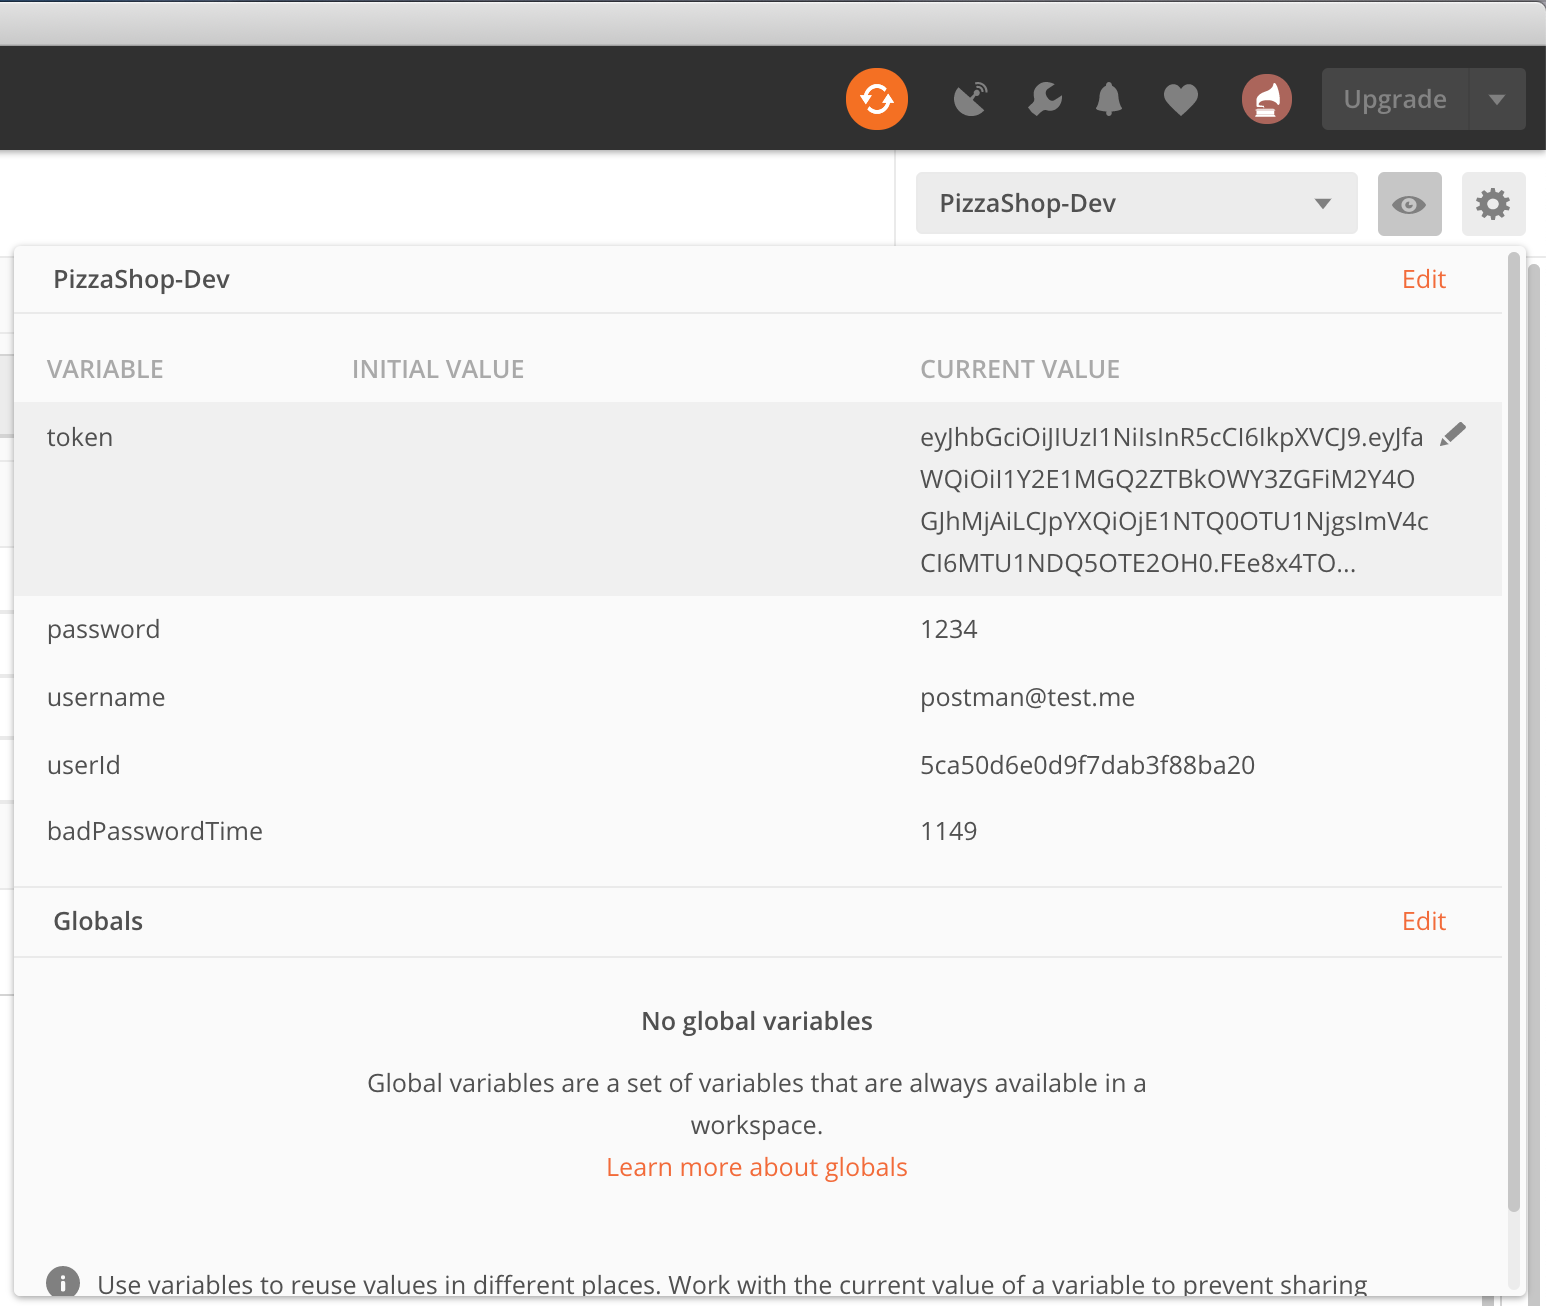
Once you have created your environment(s), they will appear in the list on the Manage Environments panel. Click on the name of your environment and then you should see a table to create or modify variables.
Create a variable called token. You can leave the initial value blank.

Use a variable
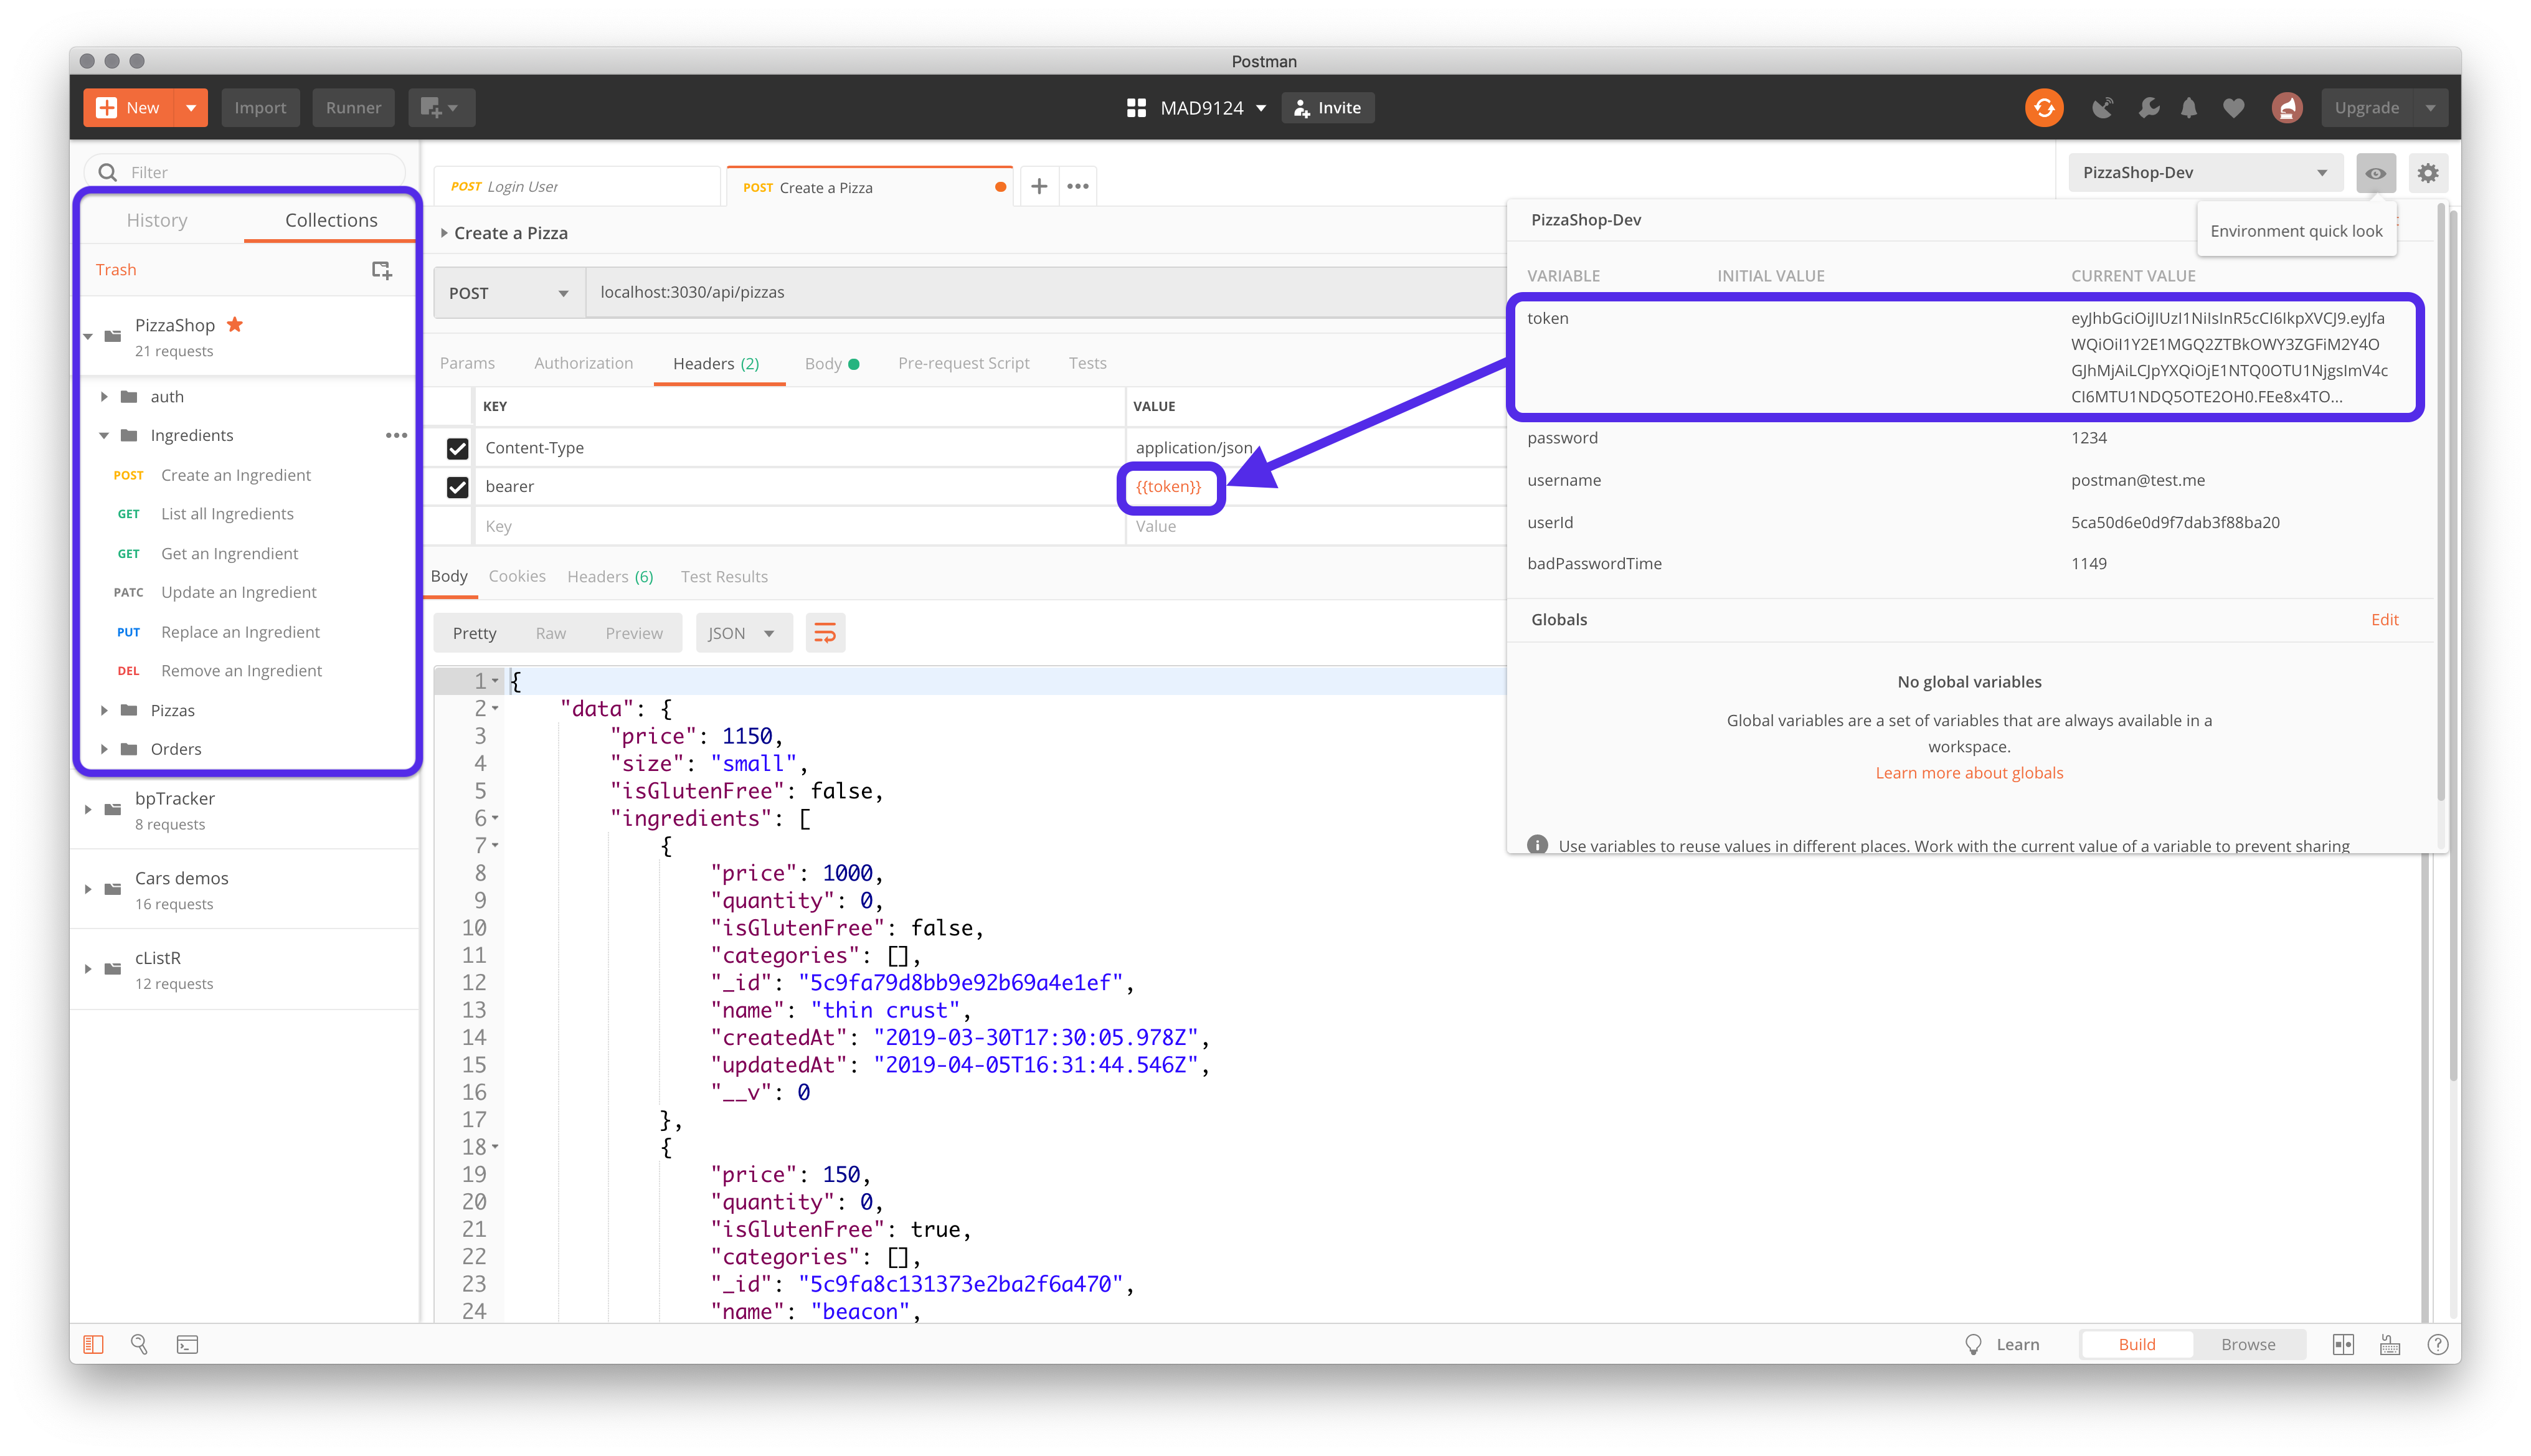
We can then have Postman insert the value of a variable anywhere in the request tab by wrapping the variable name in double braces - e.g. {{token}}
To see how this works, send the login request and copy the returned token value into the current value column of the token environment variable. Now update the Authorization header of an API route (e.g. POST /api/ingredients) to have the value Bearer {{token}}.
When you click Send, Postman will automatically insert the current value of the token variable in the value of the Authorization header. You can do this for ALL of your API routes that require the authentication token, and now when you login to create a new token you only have to copy the result one-time, to the variable. All other routes using the variable will just work!
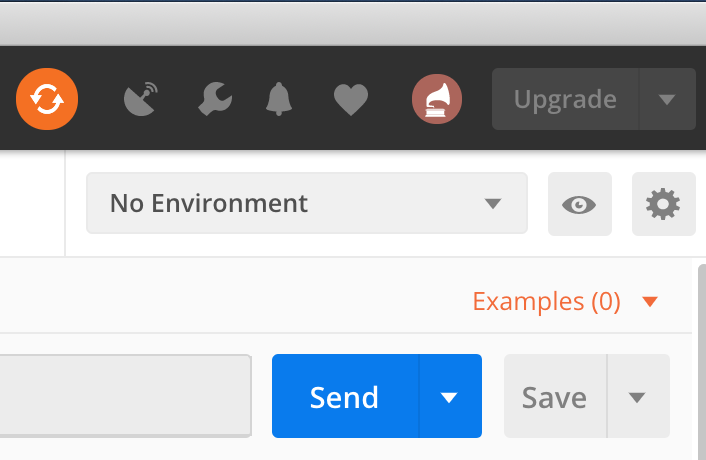
Quick look
To quickly see or update the values of the current environment's variables, click on the eye icon.
Exercise 12-1
THIS IS NOT REQUIRED FOR W20
This exercise is just for practice. There will be no grade assigned for this exercise in the W20 term.
Setup a collection with at least two saved requests. One should have the Authorization header set to Bearer {{token}}.
Create an environnement for your collection and create a token variable.
Take a screenshot showing all of the above and submit it on Brightspace. Here is an example screenshot.
Postman testing scripts
Postman also lets us write some automated testing with JavaScript. It exposes the Chai BDD testing syntax.
This can be tremendously powerful and we will look at this topic a bit more in week 14. But for now let's look at one trick to automatically capture the JWT after a successful login request and then set the value of the token variable.
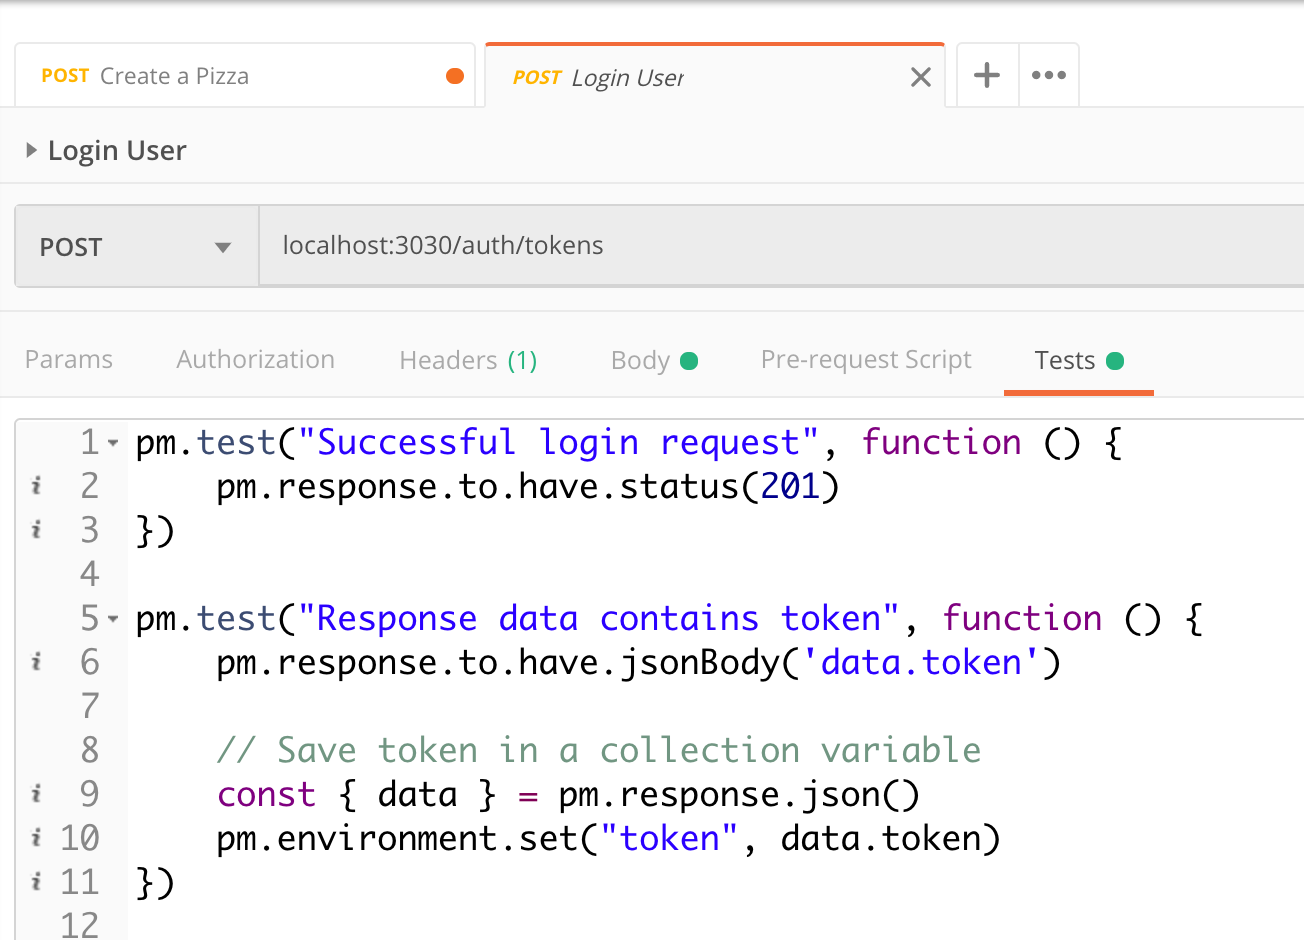
In the Tests tab of the login request (POST /auth/tokens) add this short JavaScript function.
pm.test('Response data contains token', function() {
  // Check if we really got a token
  pm.response.to.have.jsonBody('data.token')

  // Extract the token from the JSON body of the response
  const {data} = pm.response.json()

  // Save the token in a collection variable
  pm.environment.set('token', data.token)
})
Now you can just send the login request (with valid email and password) and the token variable will automatically be updated and you don't have to copy and paste the token ever again!
For next week
Before next week's class, please read these additional online resources.
Assignment Reminder
Final project - GIFTR is due by 5:00 pm April 17, 2020.
This is the final deadline. There will be no extensions.
Counts for 30% of your MAD9124 final grade.